Getting started
A short walkthrough — sign-up to your first tracked requirement.
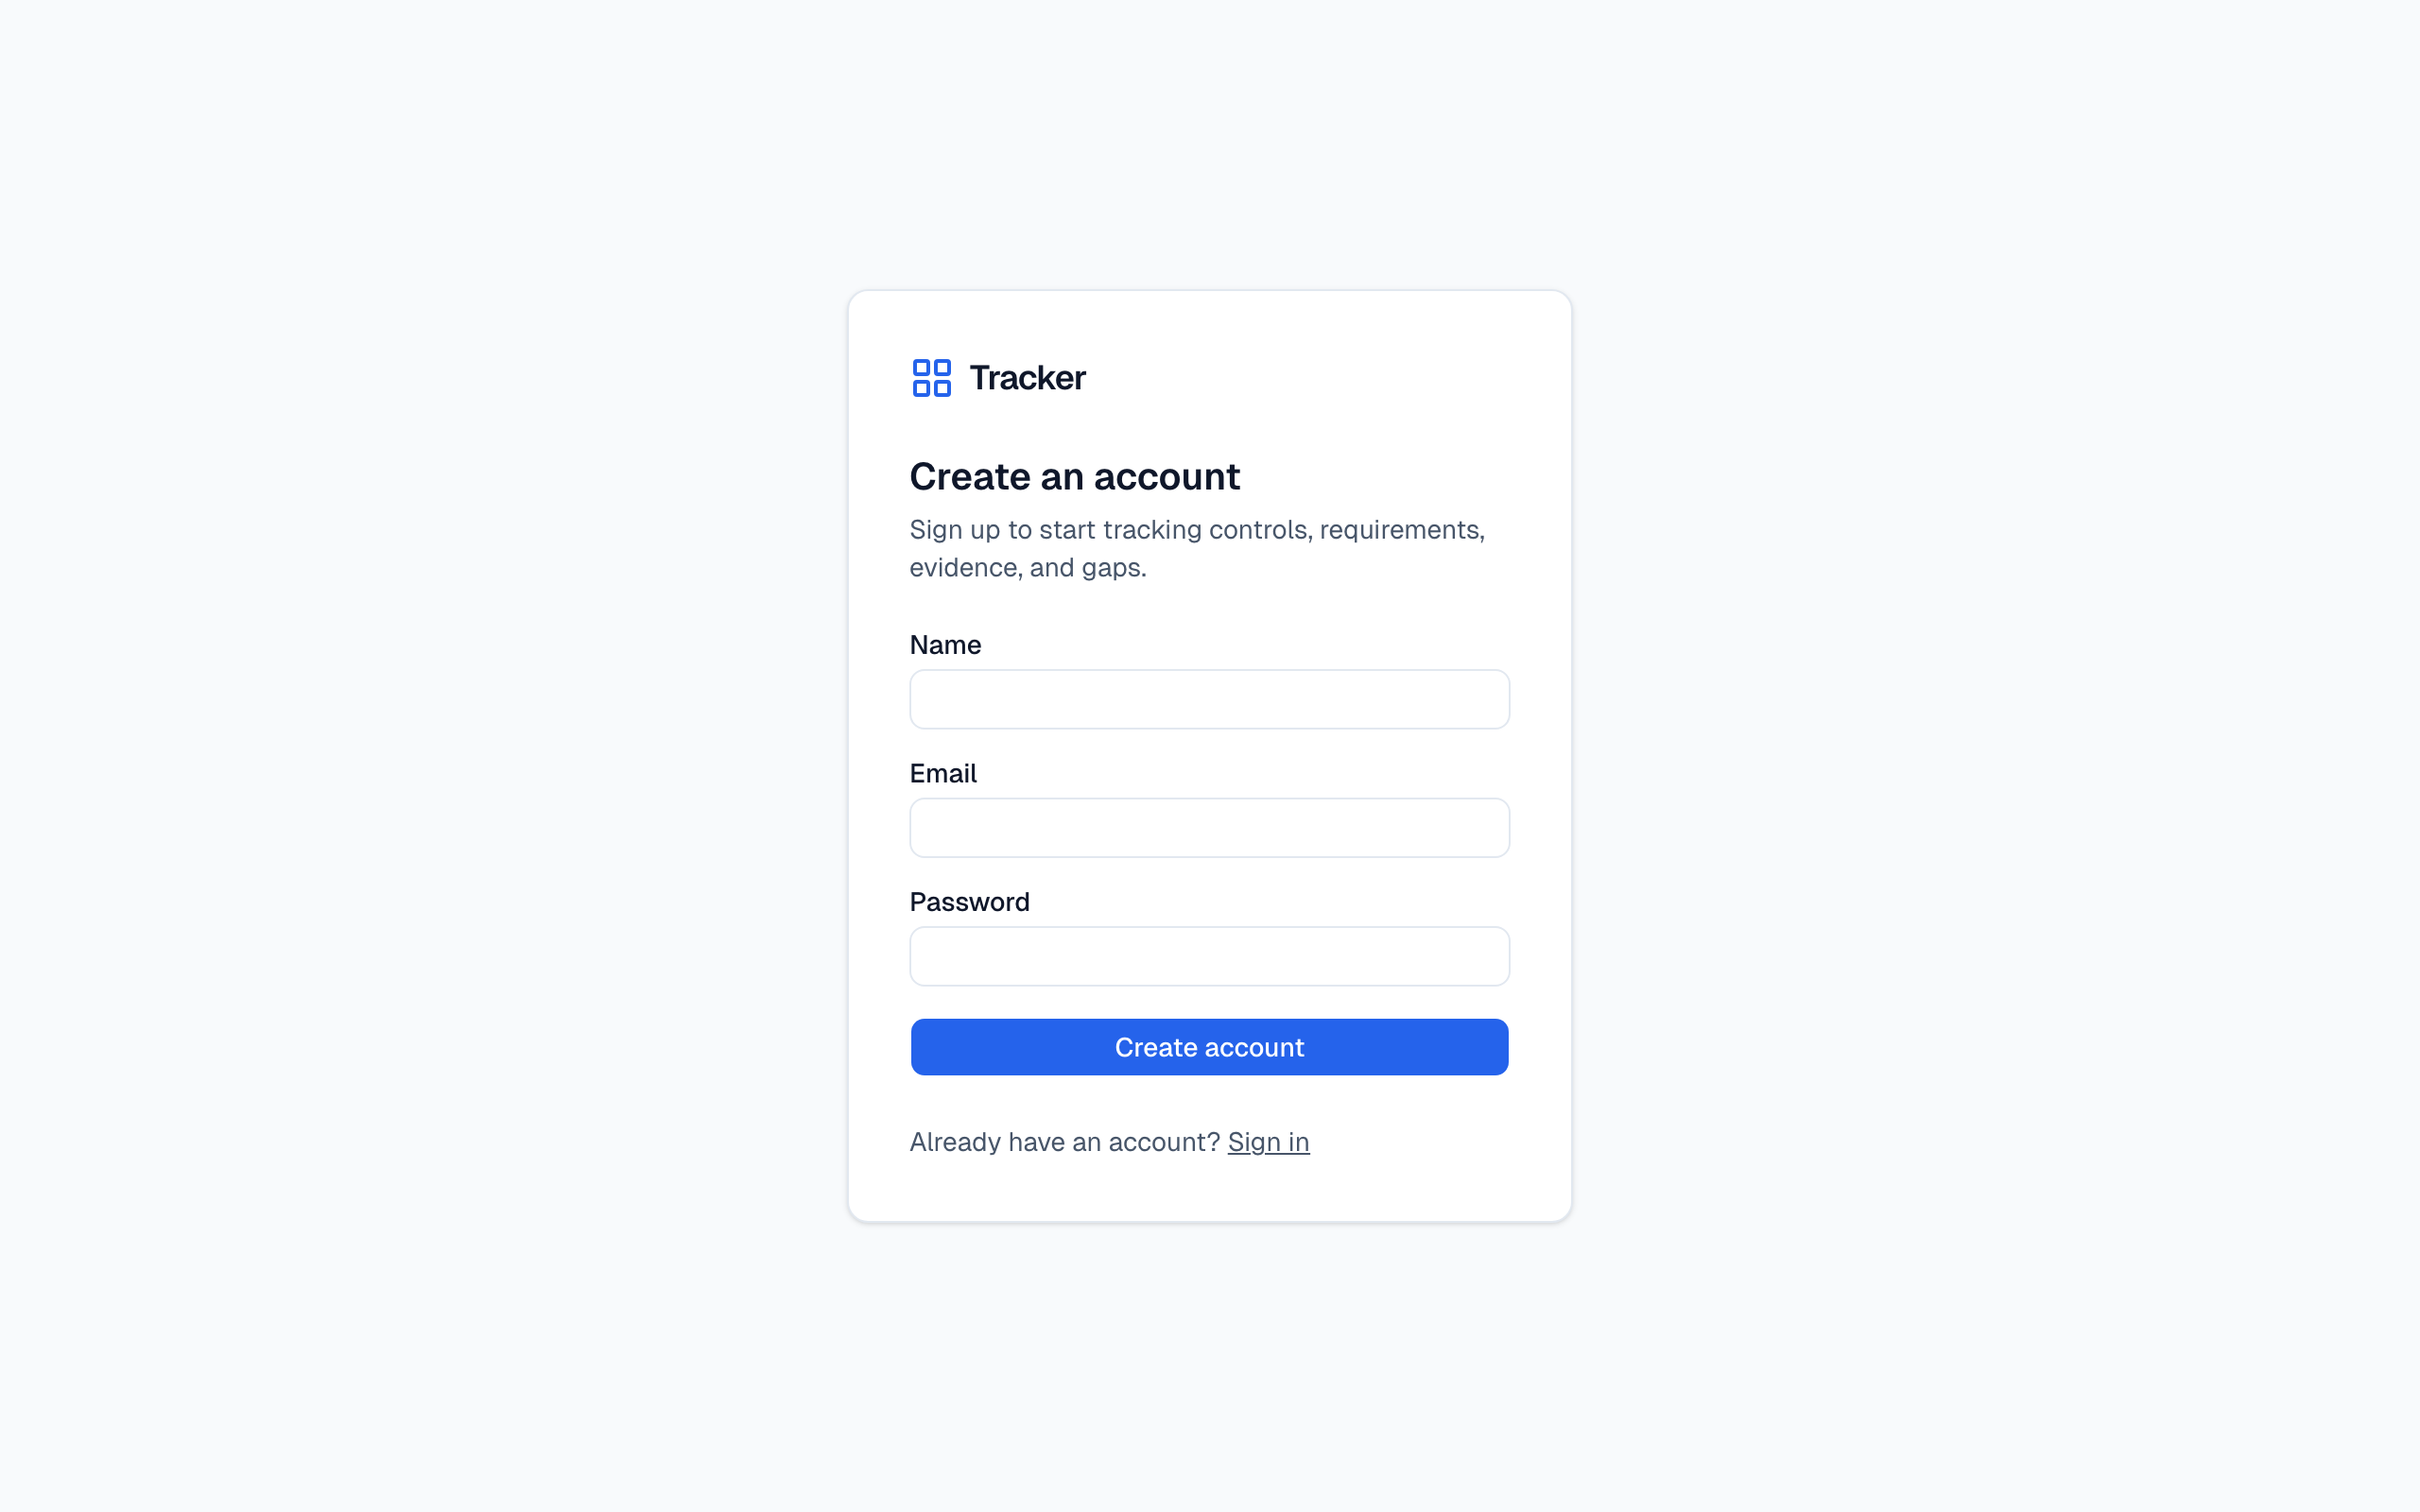
1. Create your account
Click Get started on the landing page and fill in name, email, and password. Passwords must be at least 8 characters. Tracker creates your personal workspace automatically — that's the organization your projects live inside.
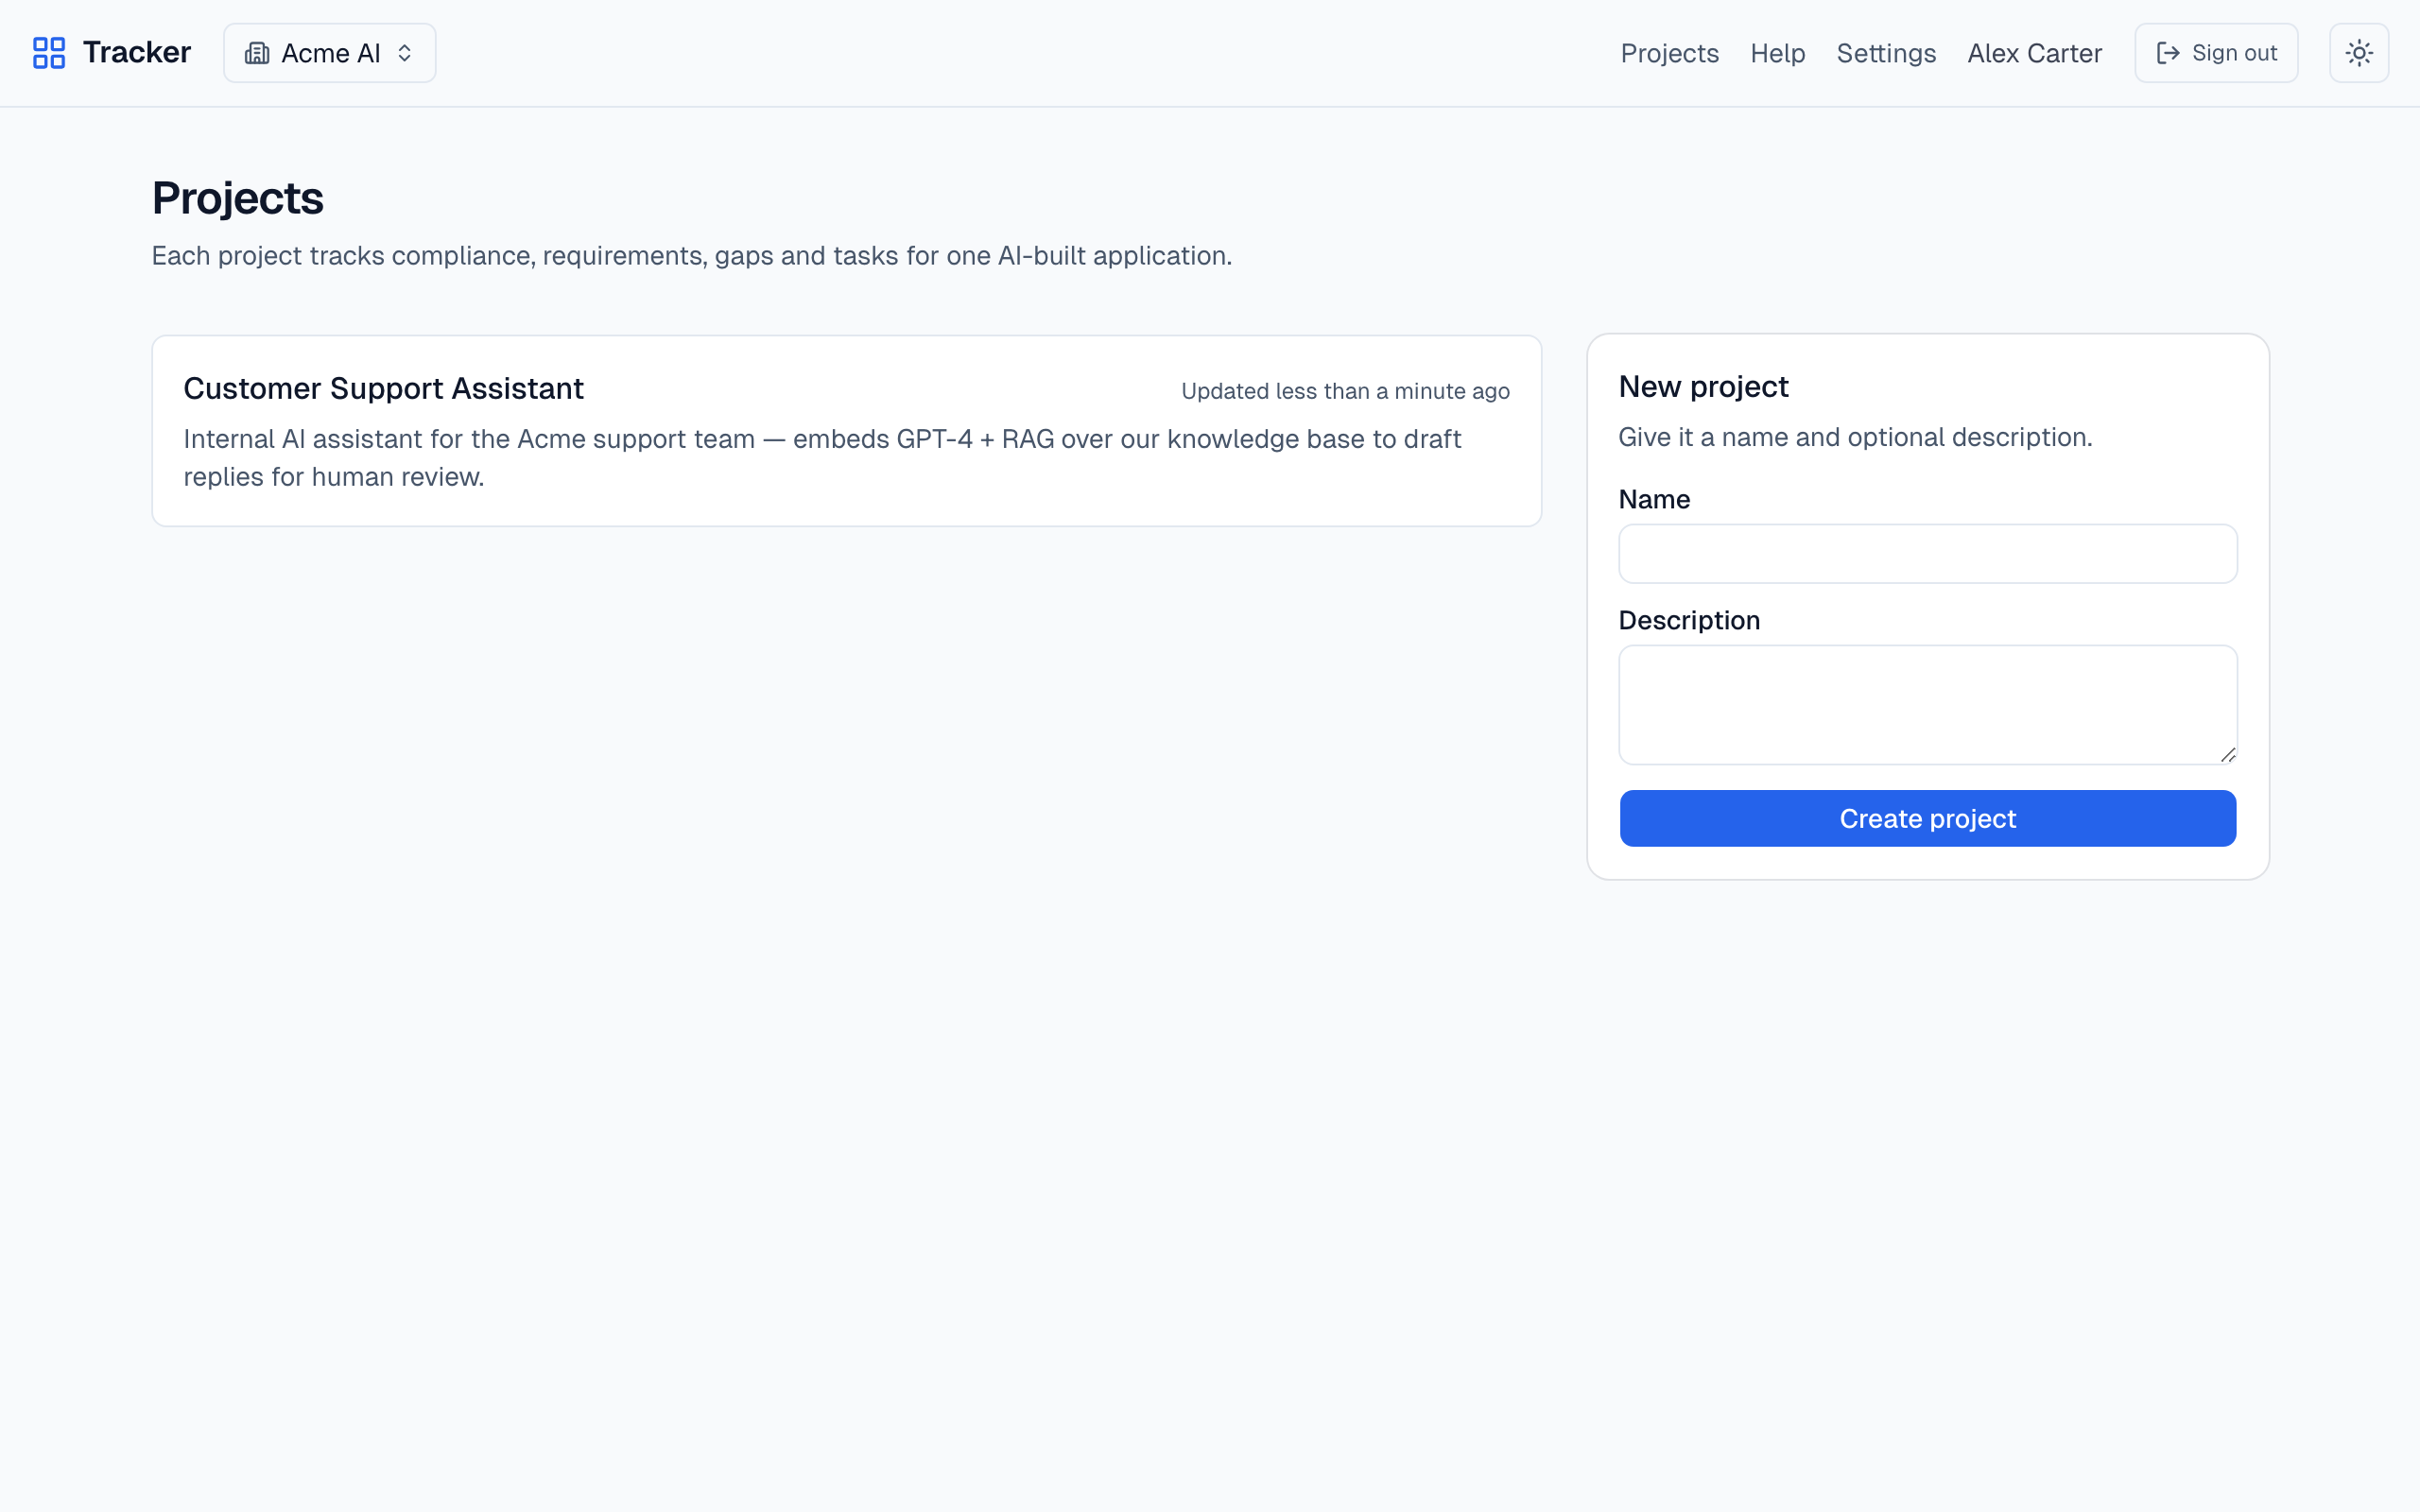
2. Create a project
A project is the unit of compliance tracking — one project per AI product, feature, or system. Add one from the projects page using the form on the right; it lands in your active workspace and you go straight to its overview.
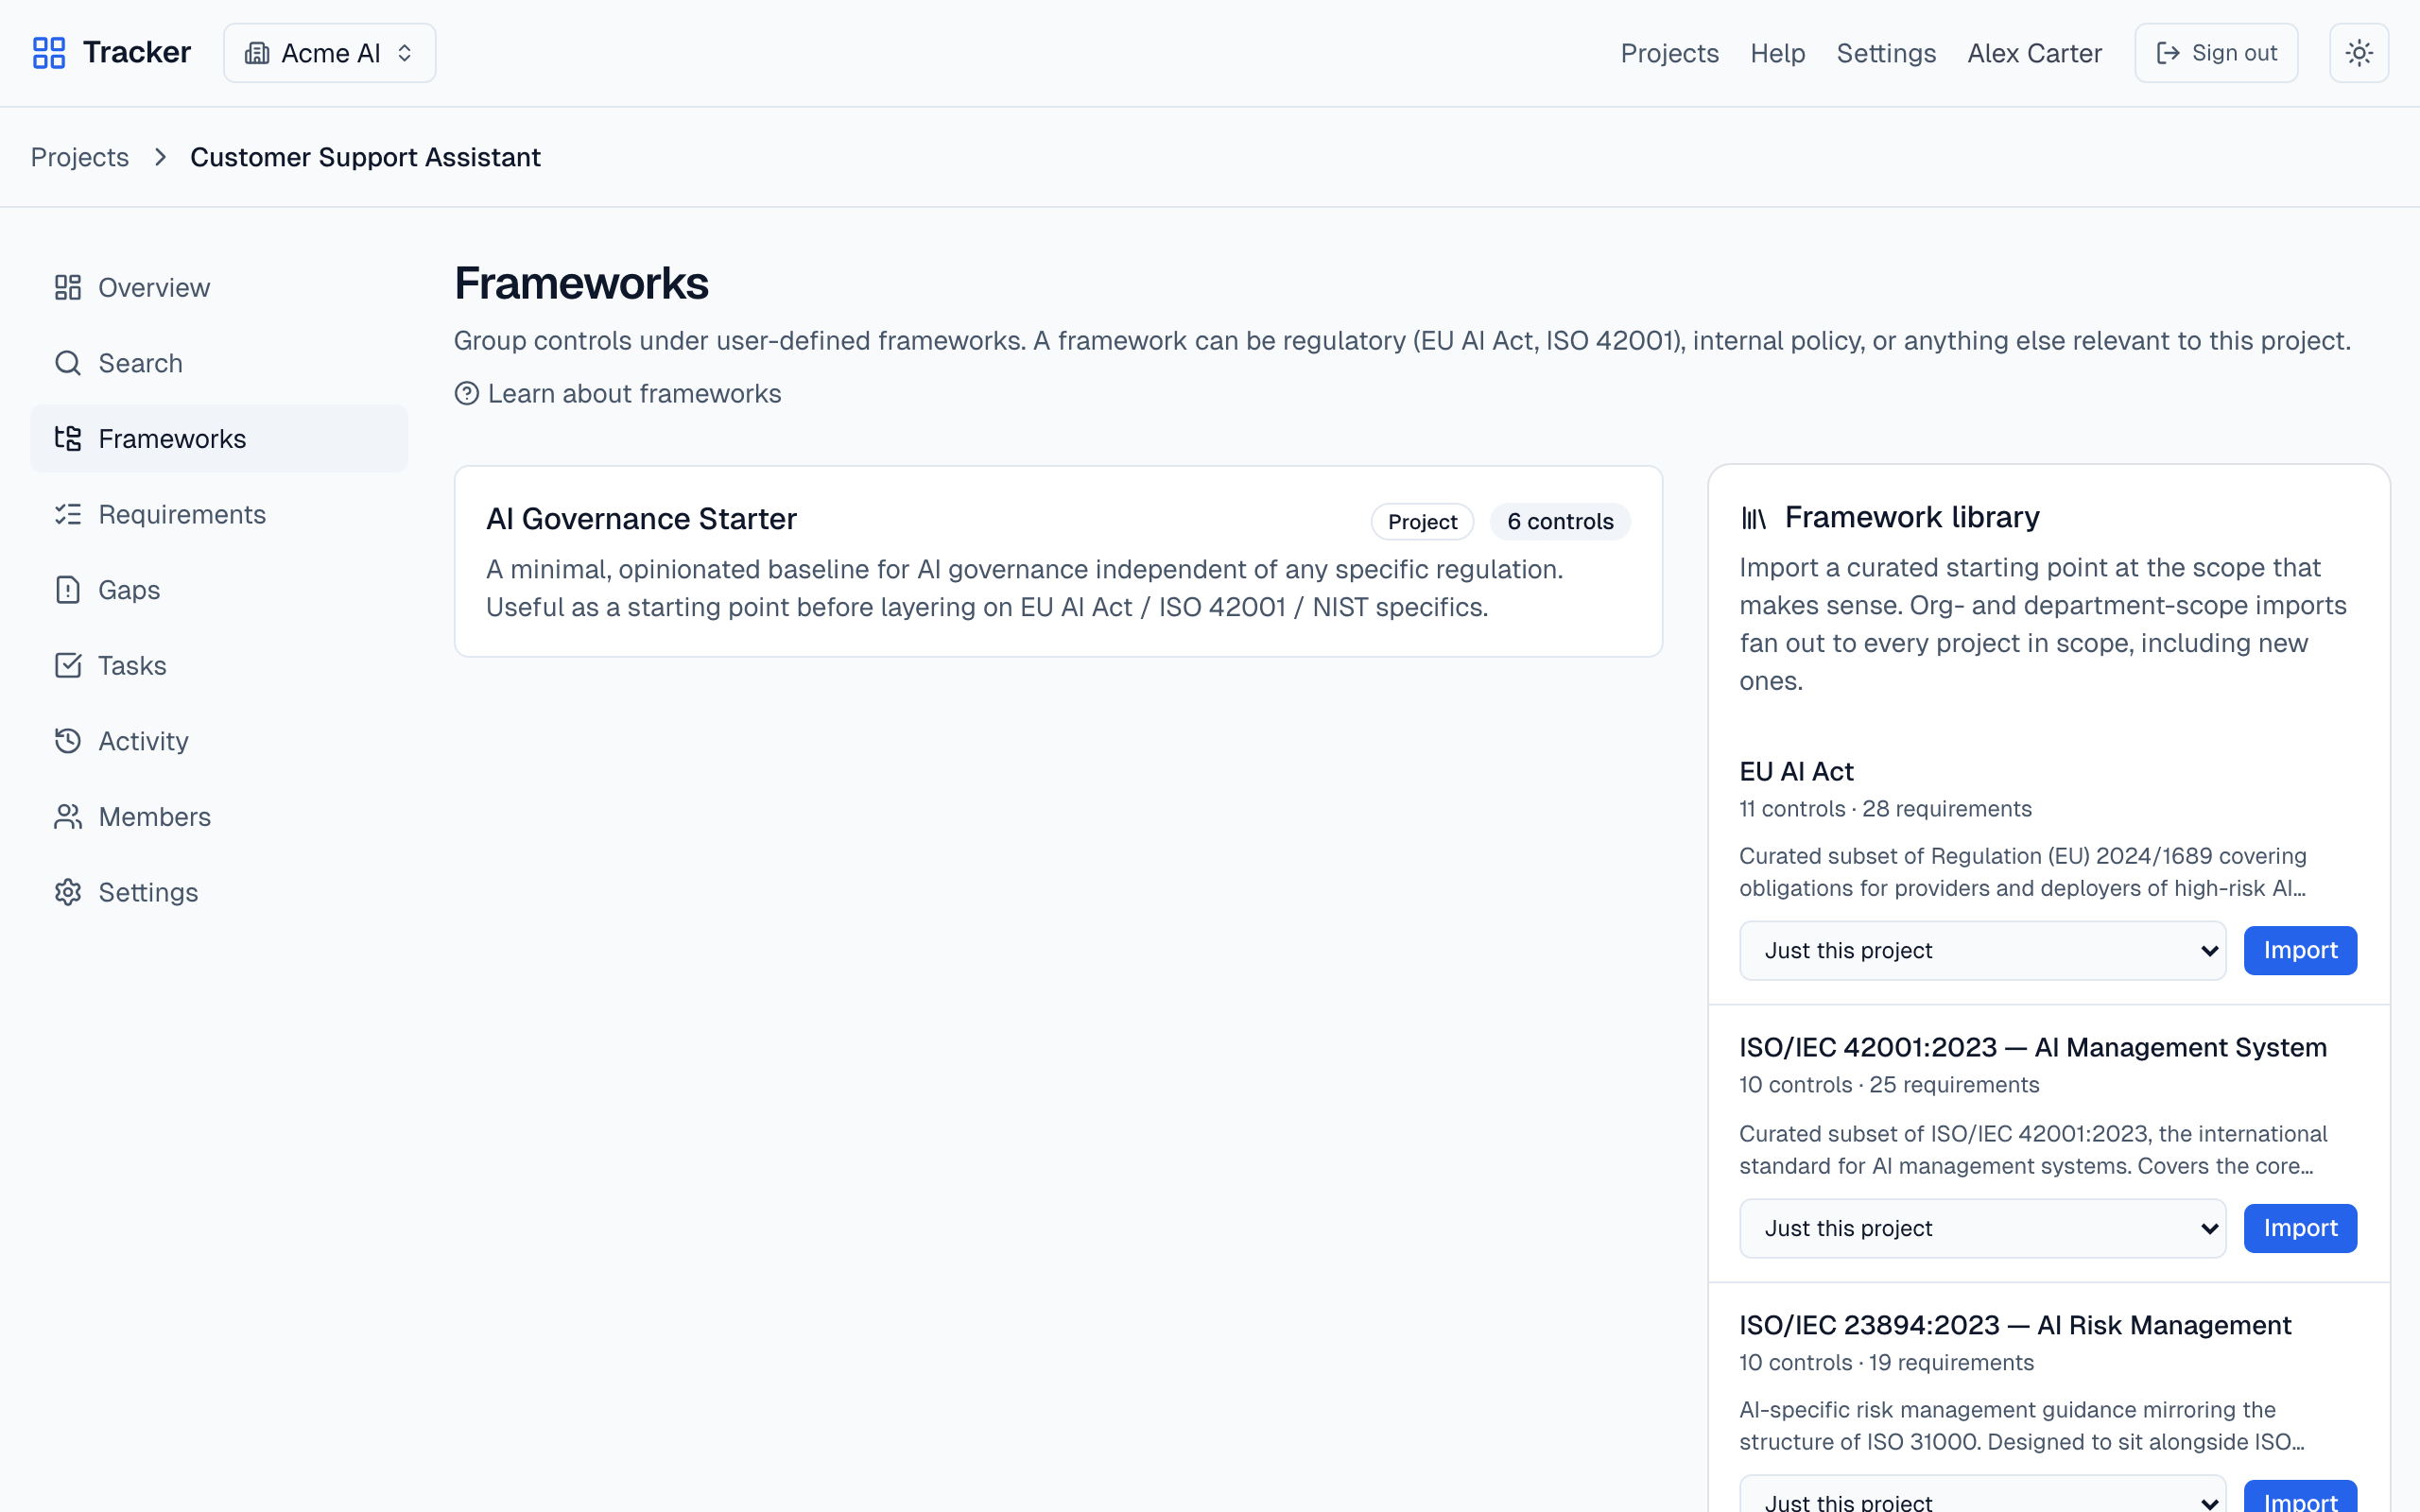
3. Import a framework
Open Frameworks in the project sidebar. The library on the right has pre-built packs for EU AI Act, ISO 42001, NIST AI RMF, OWASP LLM Top 10, Cyber Essentials and more — click Import and the controls and requirements appear under the project.
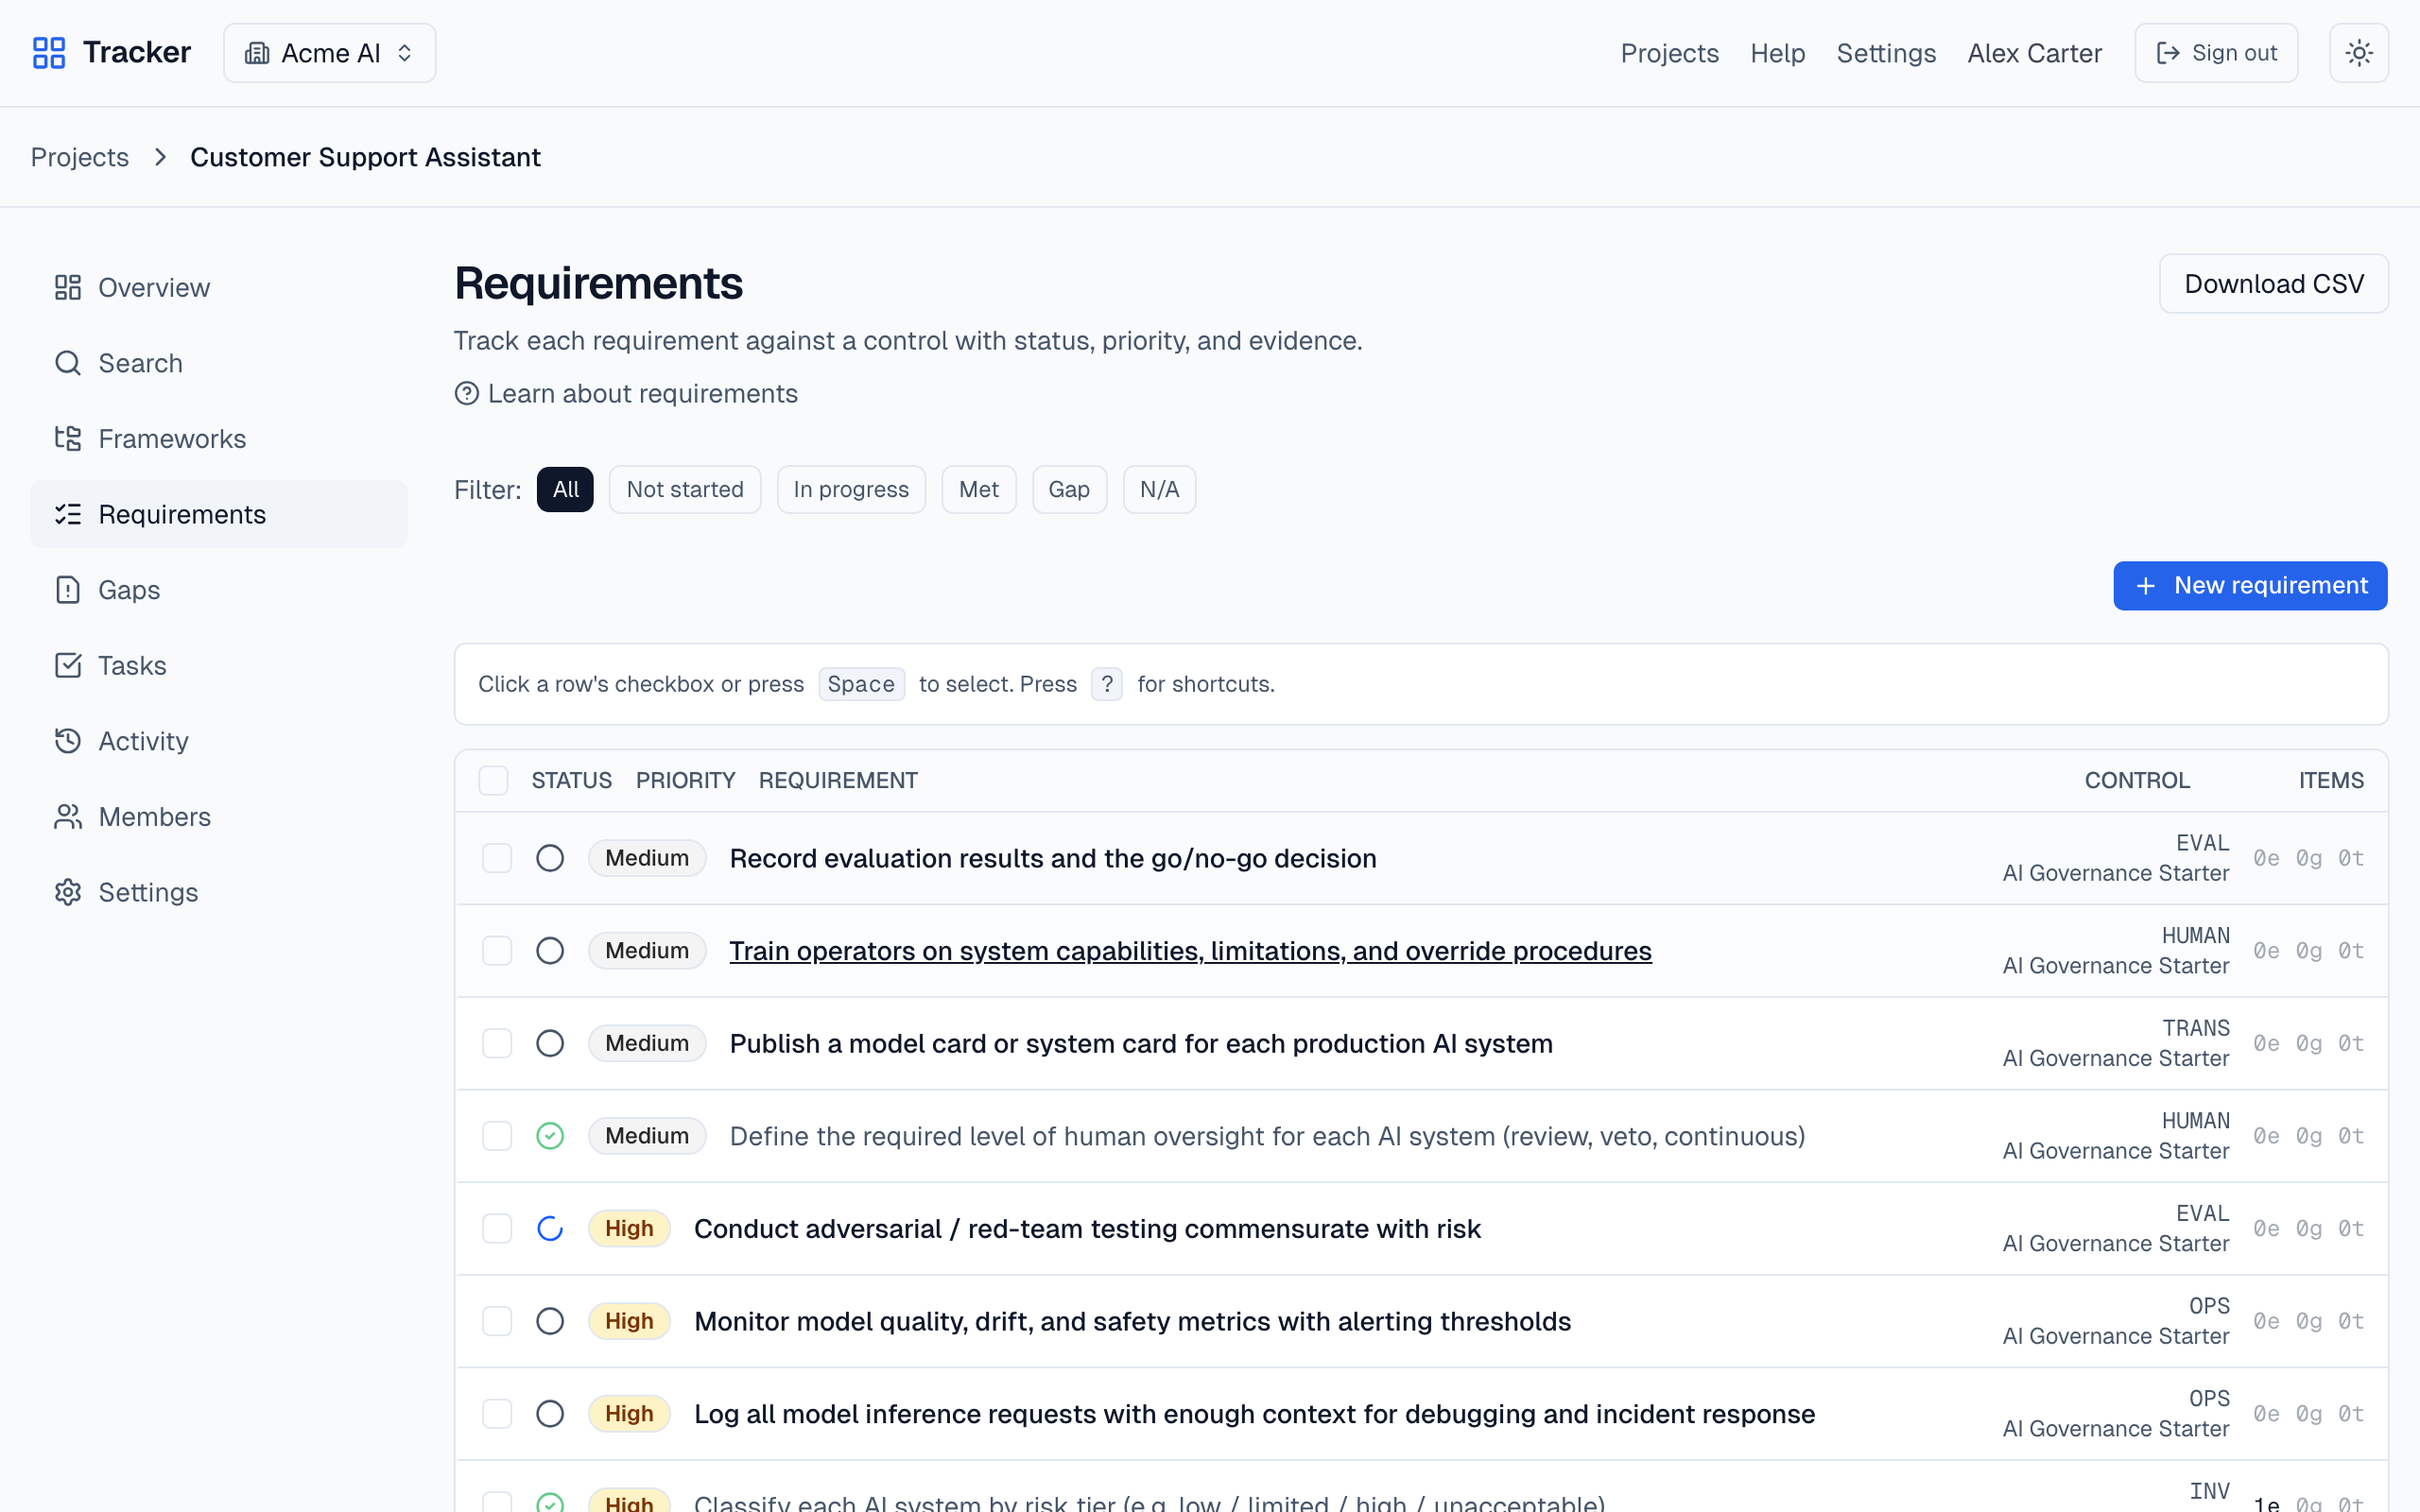
After import, the requirements page lists every imported requirement ready to track. Filter by status, framework, priority, or search to narrow the list.
Need something not in the library? Start from a blank framework and add controls and requirements by hand — or have Claude Code create them from your own policy text via the MCP.
4. Update status as you work
Open a requirement to record progress against it: pick a status, attach evidence (links, file paths, free-text notes), log a gap with severity and target date, and spin gaps into tasks for the work that closes them.
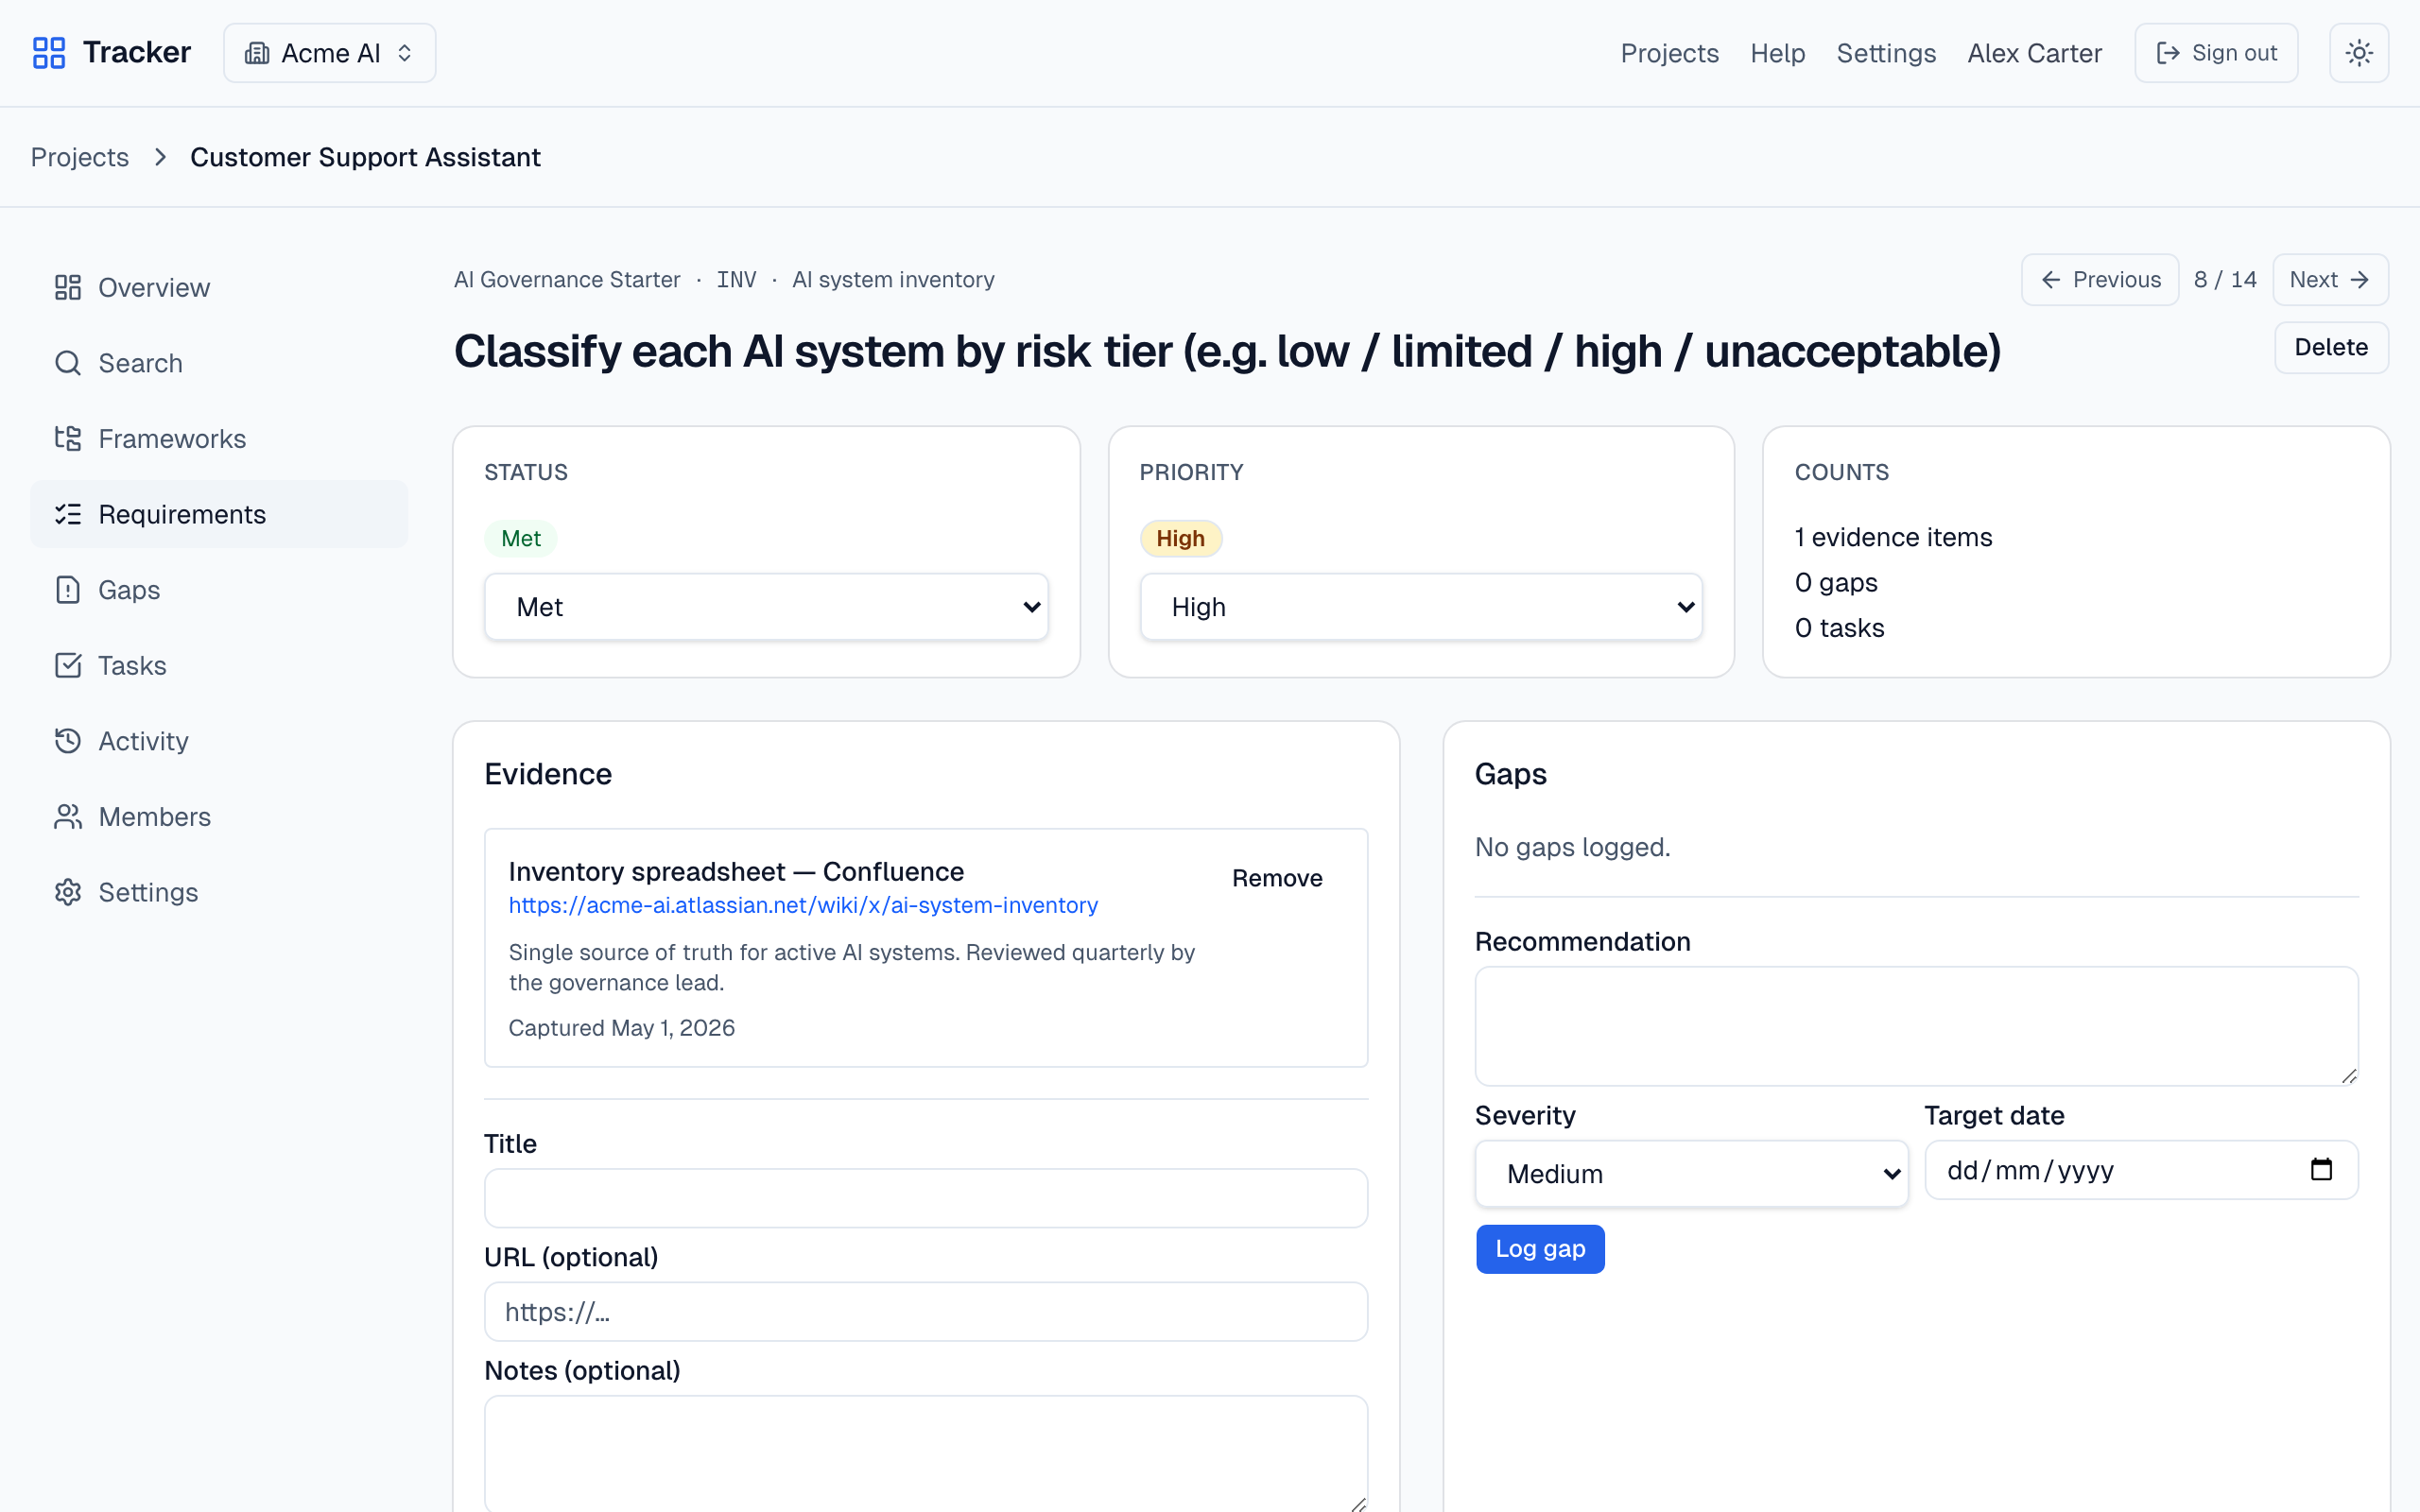
Statuses available: not started, in progress, met, gap, not applicable.
5. Bring the team in
Invite collaborators from the members page — either existing Tracker users (added immediately) or by email (they get an invite link). Choose a role: owner, editor, or viewer. Roles are enforced server-side on every write.
Drive Tracker from your IDE
Mint a personal API token under Settings → API tokens and wire it into Claude Code. Once registered, Claude can list requirements, log evidence, open gaps, and create remediation tasks without leaving the editor.
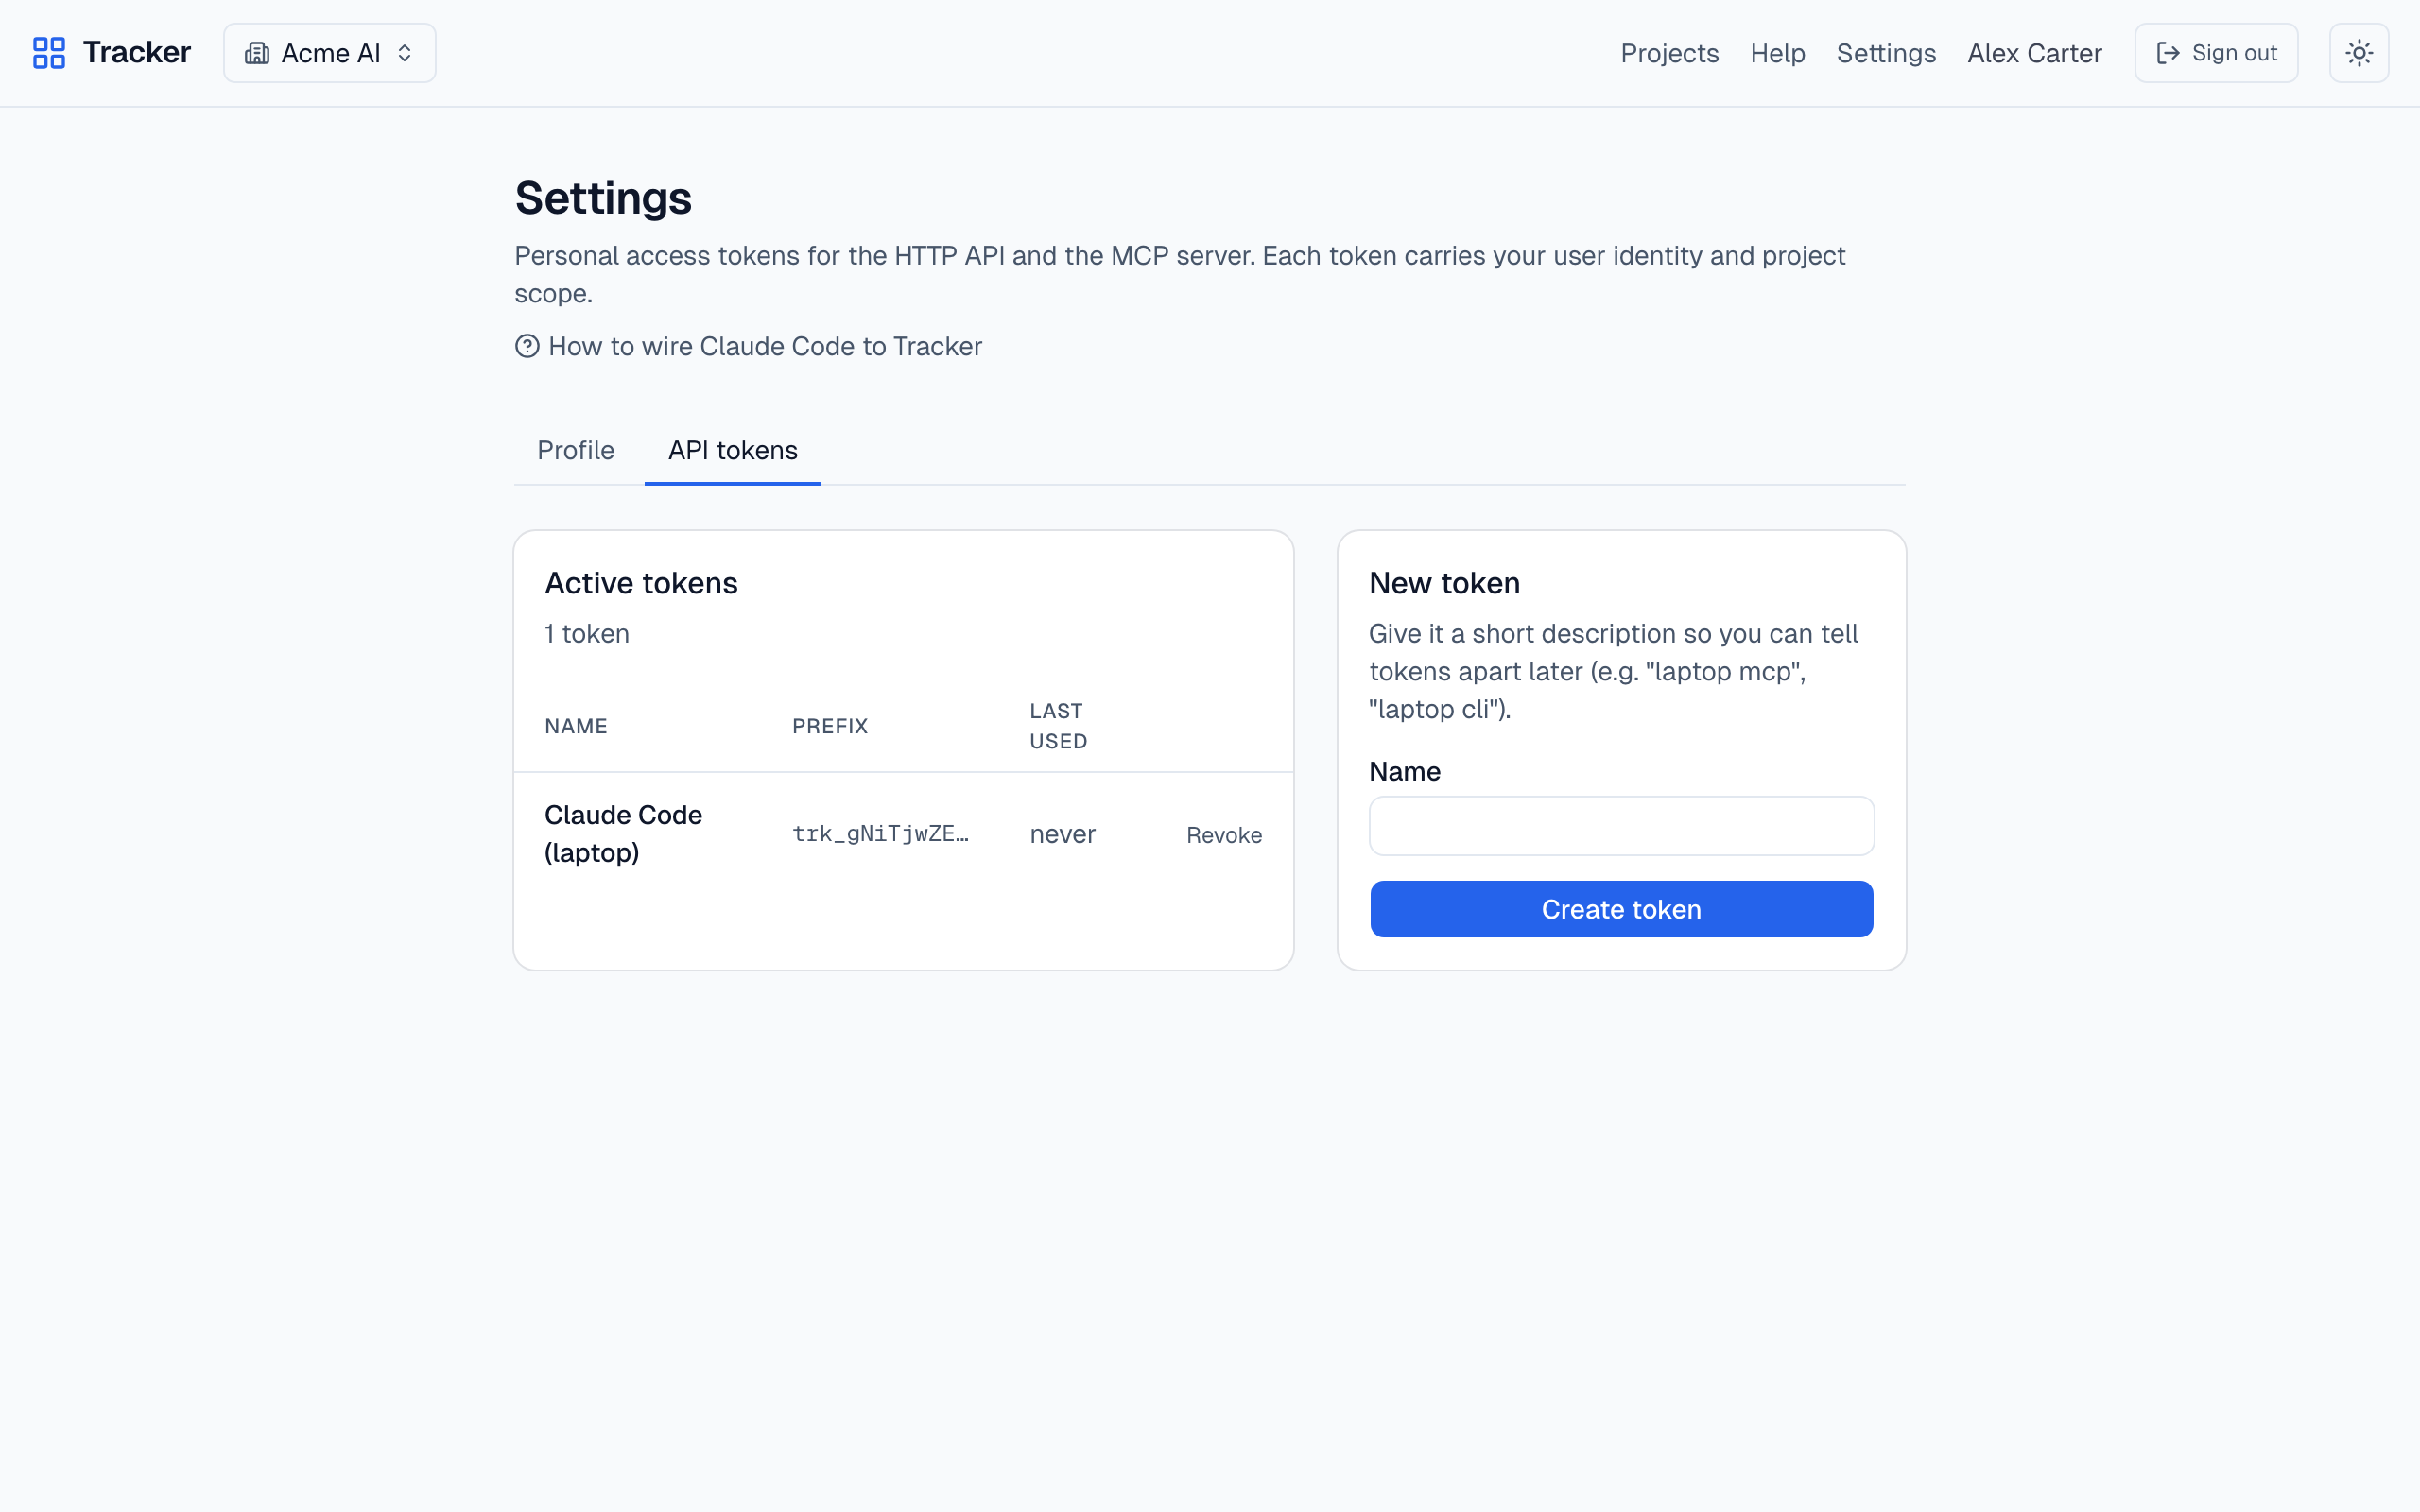
Full setup, including the registration command and what each tool does, lives in Claude Code + MCP.